Tag Archives: Vertical Gardening

Two dead, 17 sick across 13 states with another Listeria outbreak due to tainted Lettuce from a Bag

Yet another outbreak due to tainted lettuce salad in the first few months of 2022. At latest report, 17 have been sickened across 13 states and two unfortunate deaths in a recent listeria outbreak according to the U.S. Centers for Disease Control and Prevention (CDC).

The salads, which were recalled by Dole in December and are currently under an active investigation by the CDC, include a variety of different mixes. They were sold in either bags or plastic clamshell packaging, according to the agency, which said they include Caesar salads, mixed greens, and garden salads.

The salads that were tainted are sold under several different brand names such as Ahold, Dole, HEB, Kroger, Lidl, Little Salad Bar, Marketside, Naturally Better, Nature’s Promise, President’s Choice, and Simply Nature, the alert said.

The recalled salads have “Best if used by” dates between Nov. 30, 2021, and Jan. 9, 2022, the CDC said. They also have lot codes that start with the letters “B,” “N,” “W” or “Y.”

For those who suspect they may have the salad in their refrigerators, the CDC recommends to “throw them away or return them to where you bought them.” The agency further recommends that people clean their refrigerators, surfaces, or items that might have touched the recalled products as listeria can survive “in the refrigerator and can easily spread to other foods and surfaces.” If you suspect you have this in your refrigerator or have consumed this product, please reach out to the CDC immediately.

This is not the only incident. The CDC said that it is also investigating another listeria outbreak connected to Fresh Express packaged salads, which occurred in December of last year and led to 10 hospitalizations and one death. That recall includes use-by dates with the product codes Z324 through Z350. Affected brands include Bowl & Basket, Giant Eagle, Fresh Express, Marketside, O Organics, Little Salad Bar, Signature Farms, Simply Nature, Weis Fresh from the Field, and Wellsley Farms, said the agency.

According to the Mayo Clinic, a “listeria infection is a food borne bacterial illness that can be very serious for pregnant women, people older than 65 and people with weakened immune systems.” And that “healthy people rarely become ill from listeria infection, but the disease can be fatal to unborn babies, newborns and people with weakened immune systems.” Symptoms include fever, muscle aches, nausea, chills, diarrhea, while more serious symptoms can include stiff neck, headache, convulsions, and a loss of balance, the clinic’s website says. “Symptoms might begin a few days after you’ve eaten contaminated food, but it can take 30 days or more before the first signs and symptoms of infection begin.”

A harvest of hydroponic greens grown on a Tower Garden

This is not the first time outbreaks that result in the loss of life have been cause by those eating bagged salad or greens purchased from big box retailers. In the busyness of life, we trade food security and nutrition for convenience.

I didn’t learn until about five years ago, that most of our lettuce comes from Salinas, California. For those of us living on the East Coast, that means our greens have to travel approximately 3,000 miles which takes on average about 10 days to go from field to our table. When you think about nutrients lost for every day post-harvest, we are simply eating old food.

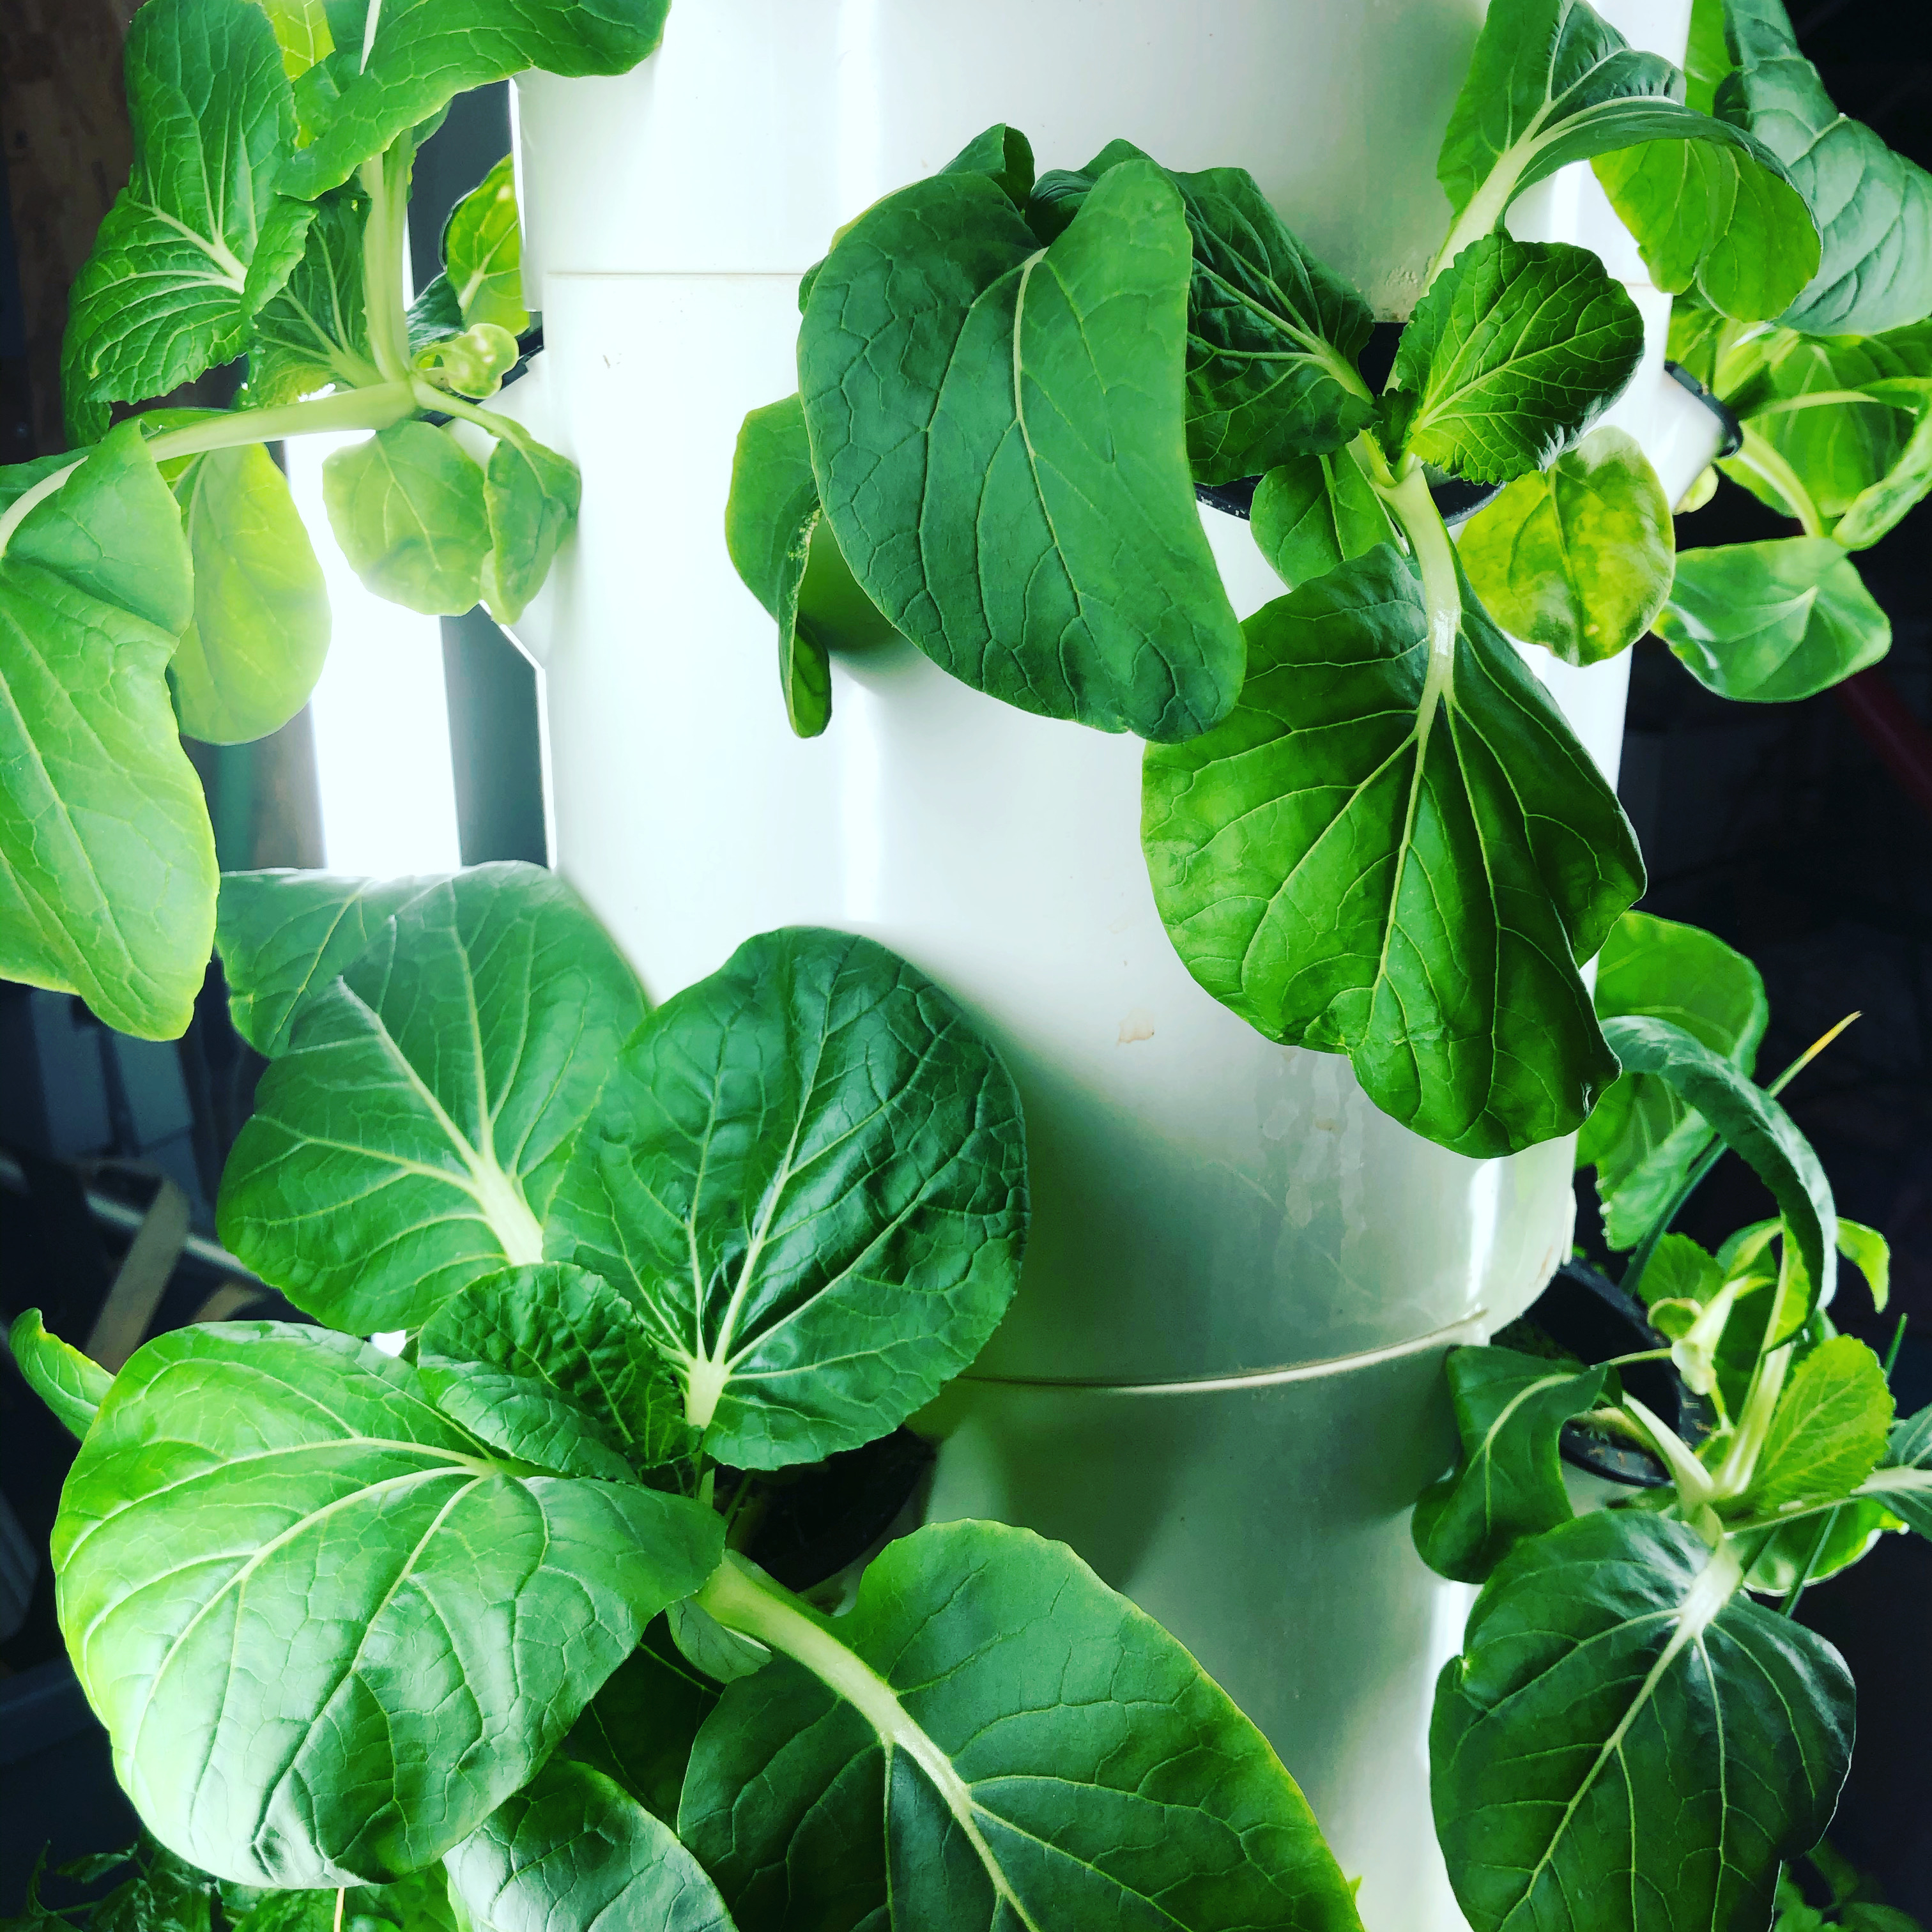
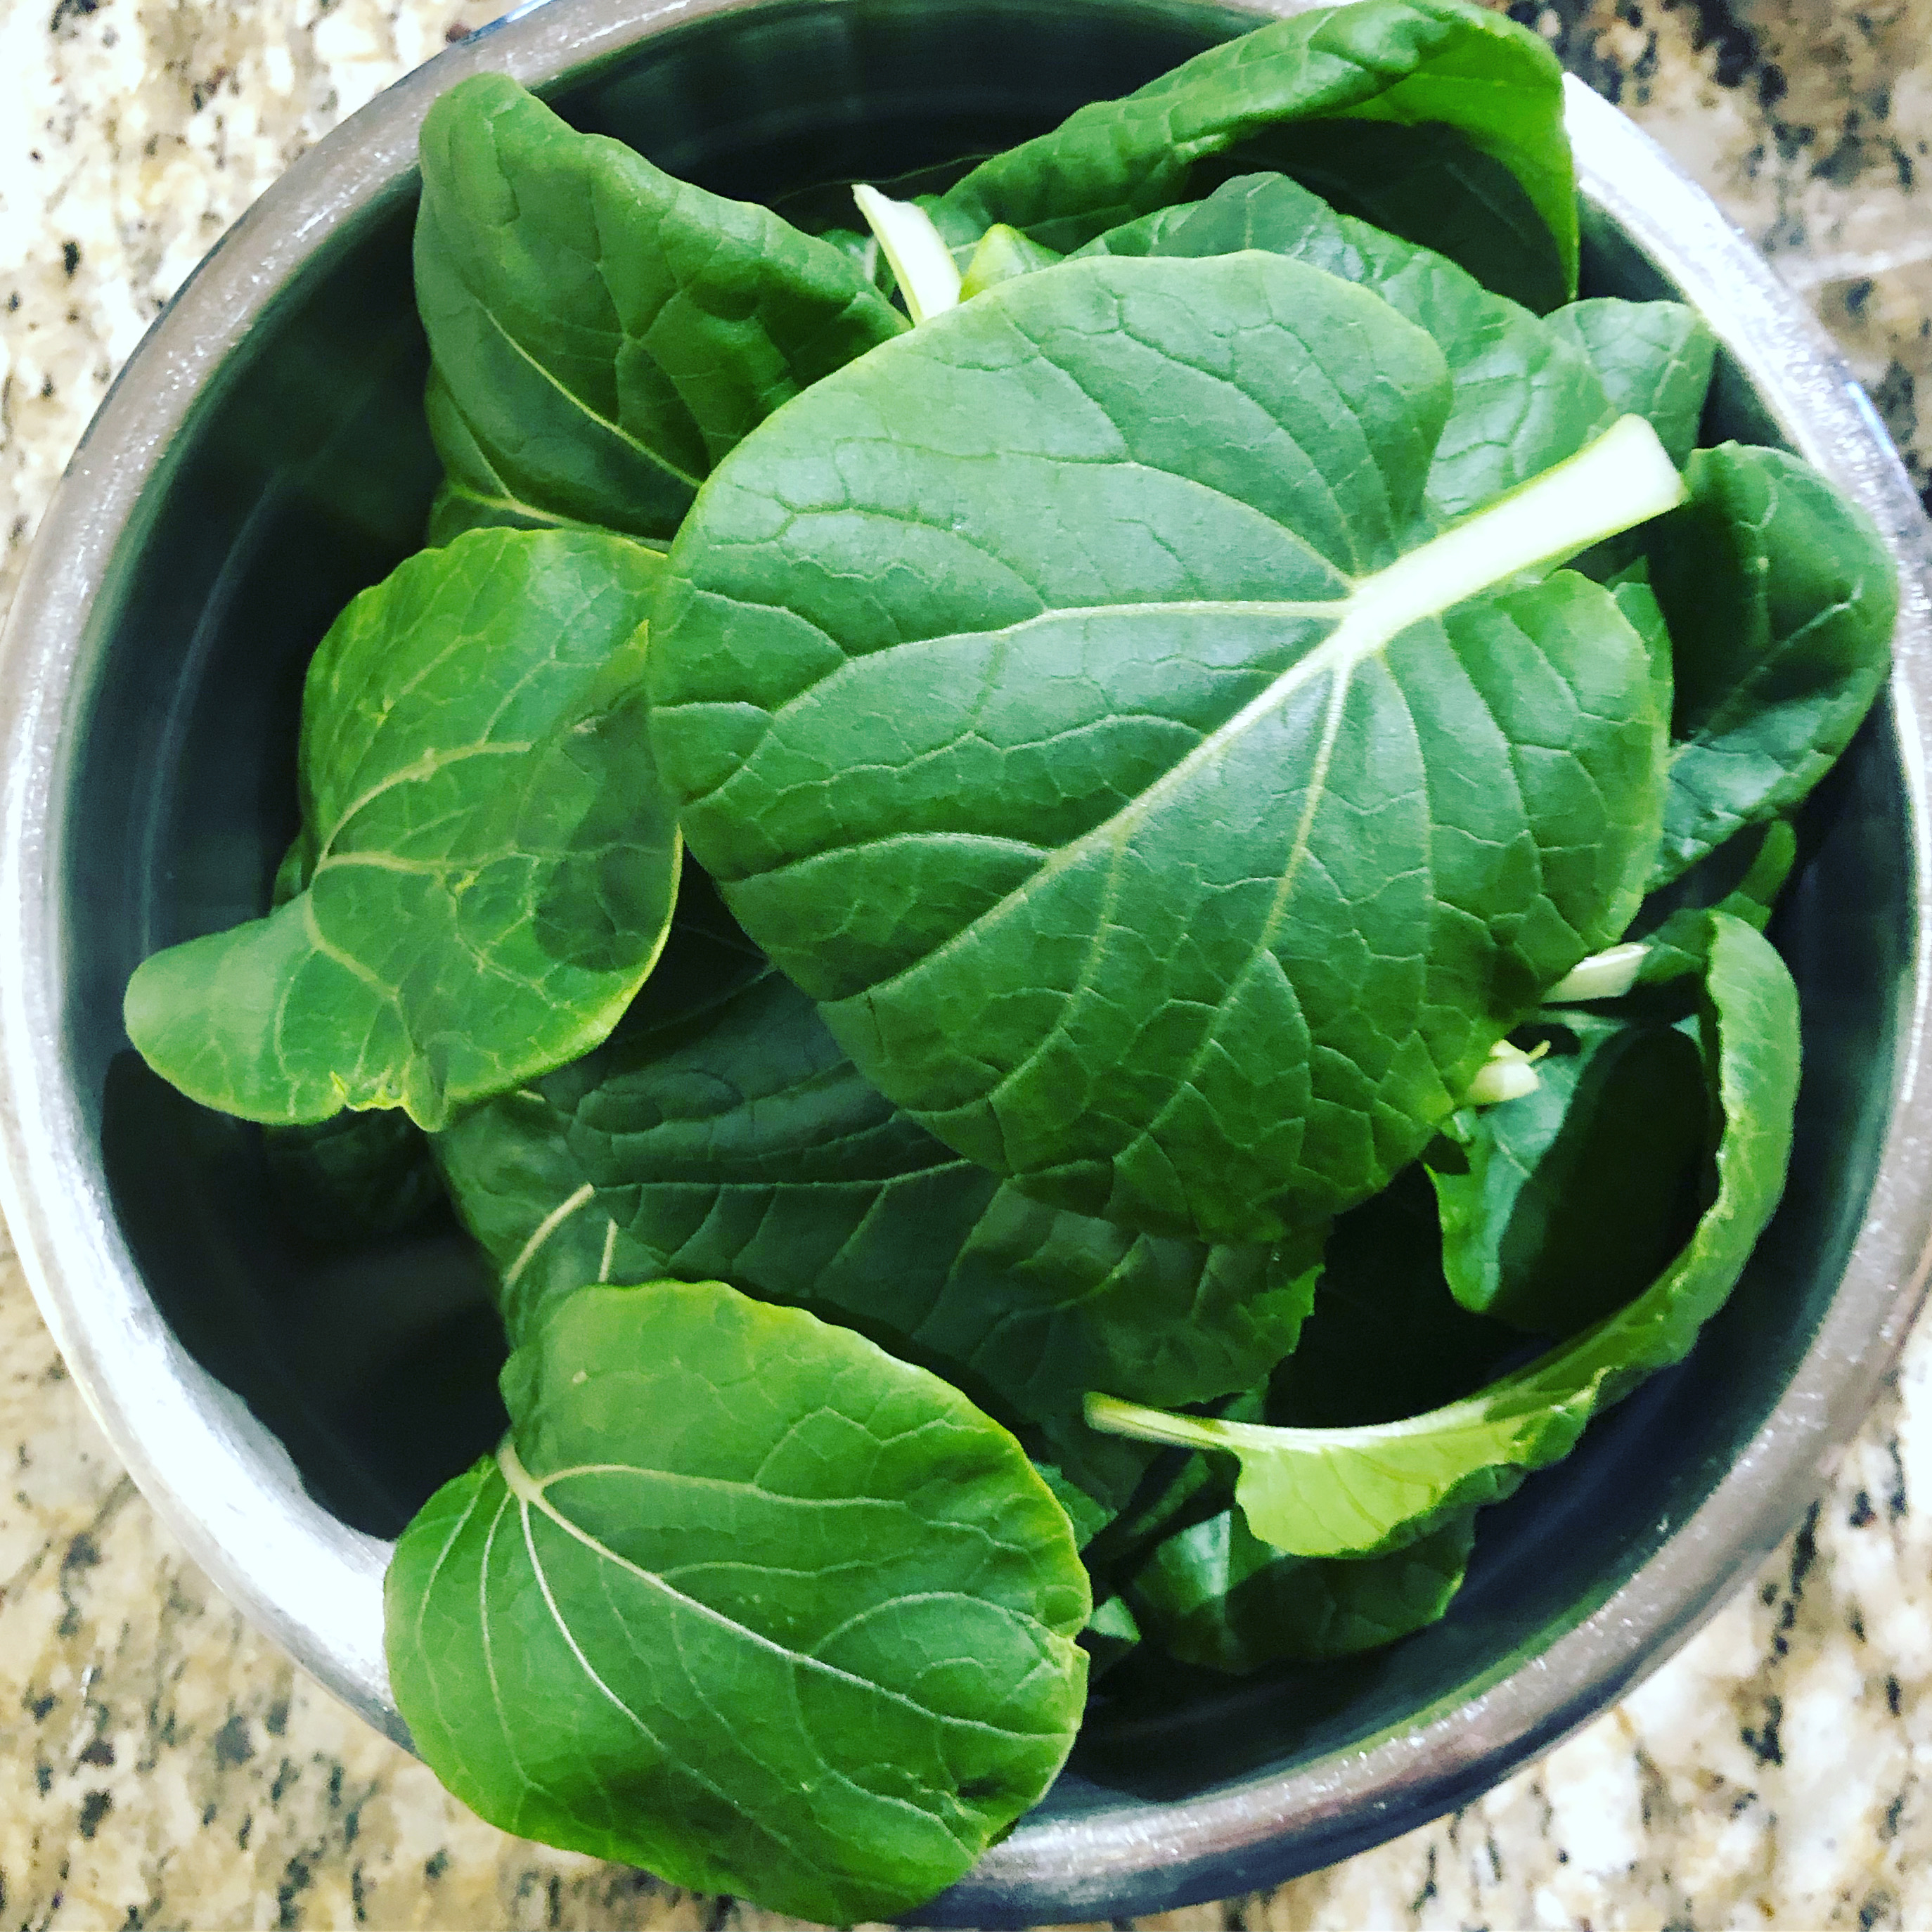
Here’s the thing… it doesn’t need to be this way. With changing a few habits, we can have greens at home in a number of ways, but the easiest by far that I have found is growing greens in my hydroponic / aeroponic growing system, the Tower Garden. I can start seeds for greens every couple of weeks and have a constant supply of greens, right in my home, 365 days a year. And when I harvest the greens, I can simply go from my vertical garden growing system to my table within literally minutes with a quick wash and spin dry if I wanted to do so! (Normally I harvest my greens in the morning when they are at their peak nutrition and the chill them after cleaning the leaves and spinning the leaves dry before fixing a salad.)

Hydroponic Aeroponic Tower Garden
Plate of greens with dandelion

I’ve heard it time and time again when people balk at the price of a hydroponic / aeroponic Tower Garden. I don’t blame them. I know I did the same thing at first. And then my husband had a heart attack and suddenly the price of that tool to grow food seemed to PALE in comparison to the medical bills that piled up and the new life of treatment we faced post-heart attack.

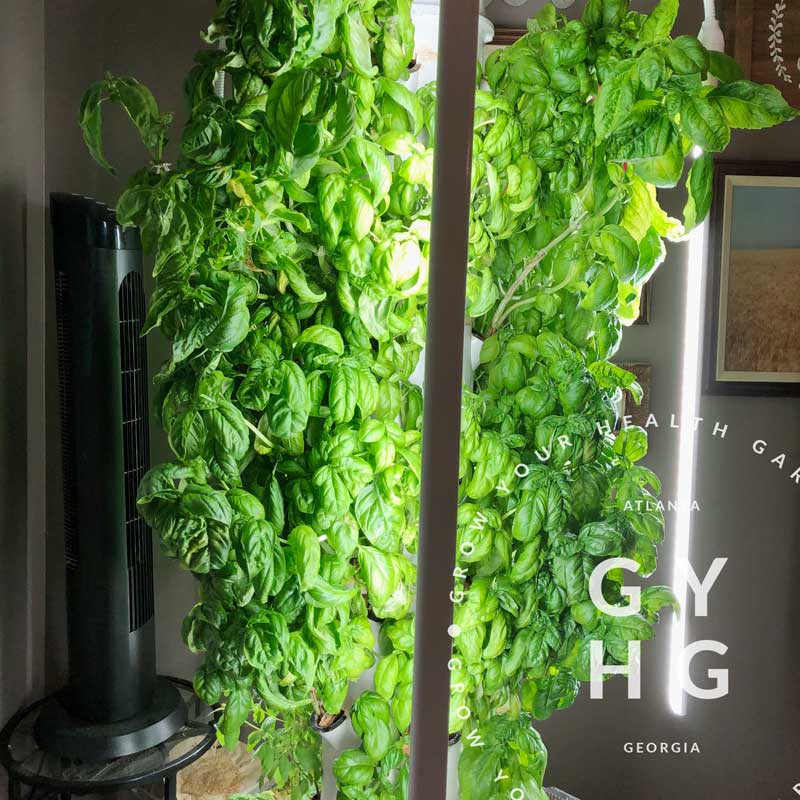
I remember, one of THE BEST decisions I made following his heart attack was to purchase three Tower Garden vertical garden growing systems (we got the three Family Pack). We opted for the payment plan and paid on them for only a year. We looked at it as if we were paying for insurance but instead investing in the health of our family. Boy were we right! Now, we are going into our fifth year of growing food in these full- paid-for vertical garden growing systems. They have easily paid for themselves over and again; I cannot begin to describe how many fresh greens we have eaten off of these Tower Gardens!

We learned that roots of Swiss chard match the color of the stalk!
We learned in growing our own food hydroponically, that our Rainbow Swiss Chard roots were the same color as the stalks! How cool is that?!
Green Bibb Lettuce growing in a hydroponic aeroponic Tower Garden
Bibb Lettuce greens growing on hydroponic Tower Garden.
Spinach Leaf from spinach plant grown on the Tower Garden vertical garden hydroponic aeroponic growing system,
Growing basil indoors on a hydroponic aeroponic Tower Garden
Basil growing on indoor hydroponic Tower Garden growing system.

If you aren’t willing or able to invest in a growing system like this, at least start with something smaller, like an Aerogarden that can sit on your kitchen counter. There are outdoor options you can cover as well if you prefer that use soil, but I’ve found that using a growing system that circulates the same water and nutrients not only saves water, but it frees me up from having to babysit watering something growing in soil every day. I’m a busy homeschooling mom of five — I need things automated as much as possible. I simply add checking on the Towers 1 – 2x a week to my work flow at home and smile big when I have the food and herbs at my fingertips when it comes time to make dinner. You can learn more here if you’re interested or send us a message and we will reach out to you to answer any questions.

And if you’re buying salad kits…. Stop. Stop trading what seems to be a convenience for what you think is healthy. They are not healthy. You’re eating old food. Unless it says right on the packaging that it was grown locally, do not buy it. Grow it at home. And be careful of anything that had to be processed (ie: cut and assembled). You’re putting a lot of faith into someone else.

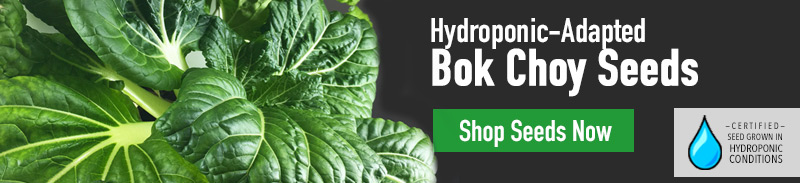
Learn how easy it is to grow your own greens at home. Let us help you on that path of discovery. Just ask in the comments below and we will be happy to answer any question or click on the pictures below which will take you to further information.

Both of these systems can grow food indoors. The Flex system on the right can ADD additional sections on top and grow higher (more food per square foot) with the proper pump. Be sure to reach out to us at hello@growyourhealthgardening and we’d be happy to answer any questions about growing food the EASY WAY hydroponically in a vertical garden like the Tower Garden growing system.

Full disclosure: I am a Tower Garden Rep (Erin Castillo). Helping families lead healthier lives using modern tools and hydroponic / aeroponic organic growing methods.

Helpers in the Garden

While harvesting some kale this morning, this little guy hopped off of one of my leaves. If you’re a little squeamish of critters, keep in mind that tree frogs like these help eat aphids and other bugs that want to munch on your plants.

We also have green anoles (a type of small lizard) here in Zone 7 near Atlanta, Georgia. We used to spray 15 years ago and I noticed the anoles disappeared — we took away their food source!

Since then I have come to understand that these critters keep a balance to nature and show a healthy eco system is in place. Plus, my kids love to catch them! What helpers have you found in your garden?

How to Have Your Own Personal Produce Aisle in Your Own Home

This time of year, many a gardener will begin breaking out their seeds from storage and gather up their recent purchases in preparation for the upcoming growing season. With earnest, one cell tray or by one rock wool at a time, life will begin inside the gardener’s abode, protected from the cold weather outside.

Seed starting, used to be an annual event for me until I realized the importance of succession planting. If I wanted to have a continual supply of greens or move from one season to the next seamlessly, a little bit of planning was all I needed to do the trick.

If I was going to do succession planting, I needed to make it part of my everyday planting and tending tasks (even if all it means is a quick glance to check moisture levels or that your “babies” (as I affectionately call them) are growing as they should was the only task that day.) And as an everyday task, it needed to be part of my environment. The end result to succession planting throughout the year? A seed starting station.

If you’re only planting seeds one time a year, I encourage you to read on and challenge yourself to look at seed starting in a whole new light (pun intended). We want to set you up for success for the ENTIRE growing season ahead!

What is a Seed Starting Station?

Okay, I’m probably being “Captain Obvious” here, but a Seed Starting Station contains everything you need to start seeds. If I may recommend a few tips as you consider setting up your own Seed Starting Station:Your Seed Starting Station needs to be in a location where you walk by it at least once a day; two times or more a day is even better. Why? Seedlings need nurturing. Watching that they have proper light, temperature, moisture, and humidity levels are all key to successful strong seed starts.

Your Seed Starting Station need to have the proper temperature.

Temperatures do matter with germination and each seed / plant has different temps they prefer to germinate at and a “sweet spot” temperature range. For example, warm season plants typically prefer to germinate at temps above 65ºF. On the flip side, cool season plants, typically prefer to germinate at cooler temps. Spinach, for example, can be started in a container between two wet paper towel sheets in the refrigerator and after about 7-10 days you’ll see the root emerge. At this point, you can move it into soil or a wet rock wool and allow it to continue to grow into a young seedlings under bright light while maintaining high 60º-low 70ºF temps.

Seed heat mats can be a great tool for warming soil or rock wool when you set a tray on it. Just be careful to not overheat the young seeds. A thermostat on your heat mat can keep it in the proper range. Below is a quick cheat sheet for common veggies of optimal temperatures seeds typically germinate at:

Minimum (F)Optimum Range (F)Optimum (F)Maximum
Beet40º50º-85º85º85º
Cabbage40º45º-95º85º100º
Cauliflower40º45º-85º80º100º
Celery40º60º-70º70º85º
Chard40º50º-85º85º95ª
Cucumber60º60º-95º95º105º
Eggplant60º75º-95º90º100º
Lettuce35º40º-80º75º85º
Melons60º75º-95º90º100º
Onion35º50º-95º75º95º
Parsley40º50º-85º75º90º
Pepper60º65º-95º85º95º
Pumpkin60º70º-90º90º100º
Spinach35º45º-70º70º85º
Squash60º70º-95º95º100º
Tomato50º70º-95º85º95º
Source: PennState Extension. Adapted from Kemble and Musgrove (2006)
(Soil temperatures should be taken by inserting a soil thermometer
3-4 inches deep into the soil surface and noting temperature.

Your Seed Starting Station Needs Bright Light

Seedlings need a lot of light once they emerge — a nice bright strong light. If you don’t have a green house that can be temperature controlled for heat and cool air, you will need to grow your seedlings indoors. That means you will need artificial lighting intended for growing plants. Lighting could get real technical quick, so I’m going to try to keep it simple. When it comes to lighting and seed starting you need to keep three things in mind to make adjustments as needed to ultimately save money on seeds:

INTENSITY: You need to have enough lighting.
LED bars: 8–10 inches apart from each other
T5 fluorescents: 4–5 inches apart from each other

COVERAGE: You need to place lighting in the sweet spot — not too far from seedlings.
LED bars (like Phillips): 8–12 inches away from seedlings
T5 fluorescents: 5–6 inches away from seedlings

DURATION: You need to leave lights on long enough.  14-18 hrs a day

Your light needs to be bright (this is like the one we use) and you need to have a way to adjust the light so that it is the correct distance from the seedling. And if you’re planting into a hydroponic growing system where your seedling will mature into an adult plant, you’ll want lights that can be adjusted distance-wise from the plant (closer when they are young and further away about 8″-10″ when they are older). If you’re using a Tower Garden HOME or Tower Garden FLEX, these are the lights you will want to invest in as they can be adjusted from the plant as it grows and they have a built in timer making it easy to set it and go about your life never having to worry about the lights turning on and off again.

Don’t rely on a window with sun coming in as it will make your seedlings “leggy” where they stretch for the light and ultimately that makes them weaker plants as they mature. Today’s windows have a UV rating which actually blocks the essential UV light that seedlings crave. The window is designed to protect your home interior textiles such as the furniture, drapes, and carpet from fading — it is not taking into account seed germination needs at all.

Some love to say “You can just start your seedlings in your Tower Garden — I do it all the time.” A couple of cautionary words are needed when you hear or read this advice posted in social media groups. Simply, don’t do it. Seedlings started in this manner often become leggy and are overall weaker plants when they mature. Secondly, you can “burn” your tender seedling with high levels of nutrients that other mature plants may be getting within your growing system, as seedlings don’t require as much nutrients when they are teeny tiny. Remember to, instead, start your seedlings off strong in a Seed Starting Station under bright grow lights. Look for a light that has all the color spectrum of the sun and avoid cheap $20-$30 grow lights as they are just not strong enough for seedlings to thrive. We recommend a grow light like this that has a full-spectrum. A decent grow light for seedlings will cost between $60-$100. I’ve also used my Aerogarden Harvest as a light for seedlings when I don’t have anything growing in the ports.

You’ll want to keep a quick reference to the needs of different seeds.

Not all seeds need darkness or to be covered to begin the germination process. Some require light to germinate like lettuce. Some need to be scarified (slightly chipped) or go through a cold period before they will germinate. We recommend printing off our Seeds That Require Special Treatment Reference Chart and laminating it or sticking it in a 3-ring binder sheet protector to use as a quick reference (or just bookmark our reference page and come back to it as you need to).

Click above screen shot to access full list of seeds that have special requirements to germinate.

Your Seed Station needs to have supplies relating to starting seeds and nurturing stored nearby

Here’s a list of some common supplies I use for soil and a list for common supplies I use for hydroponics.

Hydroponics:
1.5″ rock wool
• bowl for soaking rock wool
• vermiculite for seeds that need to be covered
(see our list here if you’re unsure)
liquid kelp (I add a TBSP to my water soak)
seeds you intend to plant (those that are not in the freezer)
plant tags
permanent marker
• access to a water source and/or some sort of watering can to “water in” seeds
• and a tray of some sort (I use an old cookie sheet) to rest your starts upon under lights for easy moving around from under your grow light to outdoors as temps allow or to your indoor growing system.
heat mat with temp gauge
grow light

Soil:
• Seed starting tray cells, recycled containers that can be repurposed as small pots, or small paper pots
• potting mix or screened peat moss
worm castings (to mix into your potting mix) (Note: don’t purchase and ship during hot months as temps of 85ºF in shipment will begin to kill beneficial bacteria in castings.)
• access to a water source and/or some sort of watering can to “water in” seeds
seeds you intend to plant (those that are not in the freezer)
plant tags
permanent marker
• and a tray to rest your seed starts on and move them easily from under your grow light to outdoors as temps allow.
heat mat with temp gauge
grow light

Now to the best part. Your own personal produce section!

To have a continual harvest, you’ll want to implement a sequential planting system. Pick a day that you are at your leisure (i.e.: Sundays are usually a restful day for most folks) and put a reminder on your calendar to plant at a certain time every week or every two weeks paying attention to your growing conditions (i.e.: indoor, cool season, warm season) and available space.

Let’s say you want to have a continuous supply of Bibb Lettuce. If you have a 28 port Tower Garden, you can plant 4 rock wools with Bibb Lettuce seed making sure to include a couple extra seeds per rock wool of which you’ll thin down as they germinate to the strongest one. You’ll repeat this process, planting several lettuce seeds into a single rock wool cube, filling four cubes total. As shown in the below planting chart, by week 4, your week 1 seedlings will be ready to transfer into your system. With each passing week, you’ll put the four seedlings that are ready from previous week plantings into the next row up of your vertical hydroponic / aeroponic Tower Garden. By week 10, you will have harvested your row 1 Bibb Lettuce (four ports = four heads of bibb lettuce to feed a typical family of four for a week). Once your lower lettuce has been harvested (pulled out of the port), the following week, replace the net pots and wipe down the port entrance with a cotton ball with alcohol on it and put a new clean net pot in it’s place. You are ready to plant the next set of four seedlings in these empty ports. As you continue to harvest up the vertical garden, you will clean each port and then plant the next seedling into it.

Note, if you are growing outdoors, sequential planting will get trickier, because temperature will be a variable. As temps raise towards summer time, bibb lettuce will begin to bolt (or go to seed) quicker or go limp if it is not a heat tolerant variety. This type of sequential planting works best if growing greens indoors and if the green has a 6-week grow cycle. This could work for Bok Choy and most greens. Consider putting some herbs like chives in the top row… these are cut and come again meaning that once they are a certain height, you can start cutting them 3″-4″ from the base of the plant and they will continue to grow from the center. Keep in mind that at some point, you will need to clean your system and restart the process, but in theory, if growing indoors, plants should continue to grow at a steady rate if you get in the habit of planting enough to fill four ports each week.

BIBB LETTUCE OR BOK CHOY EXAMPLE OF SEQUENTIAL PLANTING SCHEDULE FOR 1 TOWER GARDEN WITH 28 PORTS:

Week
1
Week
2
Week
3
Week
4
Week
5
Week
6
Week
7
Start
4 cubes
w/seeds
Start
4 cubes
w/seeds
Start
4 cubes
w/seeds
Start
4 cubes
w/seeds
Start
4 cubes
w/seeds
Start
4 cubes
w/seeds
Start
4 cubes
w/seeds
Trans-plant into Tower Garden…Week 1 seedlings Btm Row 1 of TGWeek 2 seedlings Btm Row 2 of TGWeek 3 seedlings Btm Row 3 of TGWeek 4 seedlings Row 4 of TG
Copyright 2021 Grow Your Health Gardening
Week
8
Week
9
Week
10
Week
11
Week
12
Week
13
Week
14
4 cubes
w/seeds
Start
4 cubes
w/seeds
Start
4 cubes
w/seeds
Start
4 cubes
w/seeds
Start
4 cubes
w/seeds
Start
4 cubes
w/seeds
Start
4 cubes
w/seeds
Week 5 seedlings Row 5 of TGWeek 6 seedlings Row 6 of TGWeek 7 seedlings Row 7 of TGWeek 8 seedlings Row 1 of TGWeek 9 seedlings Row 2 of TGWeek 10 seedlings Row 3 of TGWeek 11 seedlings Row 4 of TG
Harvest off of btm row 1 lettuceHarvest off of btm row 2 lettuceHarvest off of btm row 3 lettuceHarvest off of btm row 4 lettuceHarvest off of btm row 5 lettuce
Copyright 2021 Grow Your Health Gardening

No matter what you want to grow, evaluate about how long the plant(s) you want to grow take to get to maturity for harvest, calculate when it will be ready for consumption, and enjoy your bounty continuously throughout the season with weekly seed starting in your own personal Seed Starting Station.

Happy Growing!
— Erin

PS: Be sure to post your pics of your Seed Starting Station on social media and tag us at #gyhg and maybe you’ll get featured on our Instagram or Facebook channels and get some FREE seeds!

February Tower To-Dos | 10 things you need to be checking inventory on right now

February Things to Be Doing with your Tower Garden

Now is the time to take inventory of what you will need for the outdoor growing season ahead using the hydroponic (technically aeroponic) Tower Garden by JuicePlus+. Below are 10 things you need to take inventory of before you start seeds for your spring crop outdoors. Feel free to reach out in the comments below if you have any questions! Happy Planning!

— Erin


Tower Garden Mineral Blend A and B
Tower Garden Mineral Blend

Specially designed for Tower Garden’s soilless, aeroponic system, Tower Garden Mineral Blend supports superior plant growth and enhanced nutrition from your homegrown vegetables, herbs, fruits and flowers. We ship Mineral Blend with each Tower Garden Growing System. But we offer more for whenever your initial supply runs out. Ships quick leaving JuicePlus+ warehouse in 1 biz day.

order now >


pH up and pH down kit for Tower Garden

pH Up/Down

Ensuring proper balance of your Tower Garden nutrient solution is simple with this easy-to-use pH kit. A pH kit comes with your Tower Garden Growing System. But there are replacement kits, should you need one including purchasing pH up and pH down separately. Ships quick leaving JuicePlus+ warehouse in 1 biz day.

order now >


pH and Temperature Meter

PPM (Parts Per Million) Meter


rockwool-juiceplus


Rock Wool

Made from eco-friendly rock fiber, these soilless seed starter cubes provide plant roots with oxygen and consistent moisture, encouraging rapid, healthy growth. Ships quick leaving JuicePlus+ warehouse in 1 biz day.

order now >


net-pots-tower-garden

Net Pots

Net pots hold rockwool cubes in Tower Garden’s growing ports. Though we ship net pots with every Tower Garden Growing System and can be cleaned and reused multiple times, you may need to purchase more after multiple growing seasons. Ideal for plants with larger roots. Ships quick leaving JuicePlus+ warehouse in 1 biz day.

order now >


Tower Garden Clip for Easy Removal of Plants
Tower Garden Growing Clips

Plant and harvest your Tower Garden quickly and easily with these reusable Net Pot alternatives. Just like Net Pots, Growing Clips hold plants in place while allowing their roots to grow freely inside your Tower Garden. The difference is that Growing Clips (and the plants they hold) may be removed with less effort. You would use these instead of Net Pots. Works fantastic on microgreen extension. Ships quick leaving JuicePlus+ warehouse in typically 1 biz day.

Note: Tower Garden Growing Clips are designed for leafy greens and herbs. They are not suitable for flowering plants with large root systems, such as tomatoes and squash. For these plants, you should use Net Pots instead.

order now >


Seed

Some of our favorite seed providers for you to consider:

Order now >


TowerGarden by JuicePlus Weather Protection Blanket
Weather Protection Blanket

Extend your growing season (jumpstart it be 2-3 weeks in the spring and extend it 2-3 weeks in the fall) and protect your plants from overnight frosts in cooler months and midday heat stress in warmer months with this recyclable UV-resistant Weather Protection Blanket made from metalized HDPE. Has grommets for securing it to your Tower Garden. Ships quick leaving JuicePlus+ warehouse in typically 1 biz day.

order now >


Tower Garden FLEX Rolling Base
Tower Garden FLEX Rolling Dolly Base

Didn’t order a rolling base when you first purchased your Tower Garden and realize now that it would more convenient to have one, you can purchase any time. Tower Garden FLEX on a dolly is also an effective way to reduce the heat transferred from the ground in hot weather. Ships quick leaving JuicePlus+ warehouse in typically 1 biz day.

1 rolling Tower Garden FLEX Dolly Base: $90 (price includes shipping) 

order now >


365/7 Indoor Hydroponic Gardening Means Fresh Bok Choy to start the New Year!

I never used to eat Bok Choy. Never.

I didn’t even know for sure how to pronounce it, let alone how to eat it. It can be even confusing in how you spell it’s name. If you see two main references: Pak choi and bok choy — don’t be alarmed… they are the one and same plant and considered part of the mustard family. Normally these plants are a bit smaller Chinese cabbage with leafy, green leaves and white stalks that have a bit of a crunch but not as stiff as celery — sort of the texture of water cress. Pak choi or bok choy, mostly grows in Asian regions like the Philippines, China, and Vietnam.

Have you seen it in the grocery store? That’s where I first noticed it and also the very reason I never tried it. Whenever I would see it in the grocery store it would be floppy limp — ewe. Gross.

But every year, I commit myself to learning how to grow at least one new plant and a couple of years ago, Bok Choy was the one that I determined to tackle growing in my vertical garden Tower Garden hydroponic growing system (what is this?). When I actually tasted this plant straight off of the Tower Garden at it’s peak… well I fell in love with it as my new green go-to. This plant wasn’t meant to travel for days and days and sit on a grocery store shelf — it’s meant to be eaten freshly harvested.

Why I love to grow these cute little plants…

  • They grow fast. I’m a girl that likes to see some success from my efforts and these little bundles of green goodness are ready to start harvesting in 4-6 weeks.
  • You don’t harvest them like they harvest Bok Choy for feeding the masses. You’re missing out on this prolific little plant that produces leave after leaf from the center. All you have to do is continue to harvest the outer leaves and maintain the center three leaves for continual growth (about a 6-8 week continual growth with multiple harvests from the same plant). When the plant grows a bloom you know your harvest period has ended and you can swap out the plant for a new seedling waiting in the wings to go into your hydroponic growing system.
  • Did you know that Bok Choy ranks sixth on the Aggregate Nutrient Density Index (ANDI) for fruits and vegetables and is considered one of the world’s healthiest foods? I especially like that it is full of beneficial antioxidants and fights inflammation in the body.  DRI/DV from this plant include: vitamin K (64% DRI/DV), vitamin C (59% DRI/DV), vitamin A (40%),  folate (17%), calcium (16%), vitamin B6 (16%), and potassium (13%).
  • And I love how the leaves curl down and out a bit — sort of reminds me of a little bridal bouquet.
hydroponic-bok-choy-tower-garden

Varieties to try:

  • Purple Lady Bok Choy from RareSeeds.com is a beautiful plant and chock-full of antioxidants with it’s purple leaves and my new favorite Bok Choy to grow. (Remember half the fun of growing your own food is trying new vegetables you can’t find at your local supermarket!)
  • White Stem Bok Choy from our GYHG Seed Company (our own exclusive line of hydroponic-adapted seed that we grow here on our land) are a great starting point. If you want to try it without committing to a lot of seed to save, this is a great option (plant shown above and link to find seeds below).
4D43AF4C-279E-423A-A651-7AC573D88CC6.jpeg

Things to know as you grow Bok Choy / Pak Choi…

  • SEED STARTING: I typically see seeds germinate within 48-72 hours if using seeds from the previous growing season. I plant into rock wool and here are the conditions I recommend:
Seed Starting Guidelines for Bok Choy or Pak Choy
  • PLANTING TIMING: Transplant Bok Choy / Pak Choi starts outdoors into your Tower Garden hydroponic growing system as close to your freeze date as possible. You may want to add a water heater like this one for any freeze warnings and have a lightweight weather protection blanket specifically designed to fit a Tower Garden with one extension and have it on the ready to put over the seedlings should you get an unforeseen late freeze warning.  To find the local last frost date for your area, I like this resource (less ads than the Farmer’s Almanac web site.)

Ideal Tower Garden Hydroponic Growing Conditions for Bok Choy:

Tower Garden Hydroponic Growing Conditions for Bok Choy Pak Choy

Hydroponic Growing Conditions:

  • TEMP: Like cabbage, this plant likes to grow at 55ºF-76ºF temperature meaning it’s a spring or fall plant or grow indoors. Avoid the hot summers.
  • LIGHT: They tend to like 7-10 hours of light, so if you’re growing them indoors, don’t push them with extra light hours, it may actually end up slowing their growth.
  • PPM/EC: 1050-1400 ppm and 1.5-2.0 EC.  I recommend using Tower Tonic for a well-rounded supply of minerals that will benefit you nutritionally when the plant is harvested. I use this meter and keep it in the PPM range of around 1200.
  • pH: Keep plants in a pH range of 5.5-6.5. I use this pH meter and this pH up and pH down to maintain the range. (Remember, plants need to be in ideal pH range for uptake of nutrients / minerals to occur.)
  • Air movement is always a good idea with any plants you are growing, but we are not looking for windy air circulation, just a slight breeze or moving air in the room.
  • Final Tip: When growing hydroponically indoors, your timer will need to be set to 15 min on and 30 minutes off. If you want to keep this plant happy, add an aerator to your reservoir. It likes to have oxygenated water—a little more than just the aeroponic benefits that typically the Tower Garden provides on most occasions. (If you’re running your Tower Garden continuously outdoors during the day, you can skip the aerator.)

Pests and Diseases to be on the lookout for while growing Pak Choi:

  • PESTS: Aphids like this plant as well, so plant marigolds and petunias in the area (may even put some pots at the base of your Tower Garden) and do spot checks periodically on the stems and under those bodaciously beautiful green leaves. If you see aphids moving in, rub your thumb across the plant henceforth squashing them. You can follow-up with a spray treatment of Neem Oil. Once you get aphids, if you don’t eradicate them quickly, they will multiply every three days and may take your entire crop so heed my warning and spot check every day or so under those leaves and towards the base of the plant.

How I incorporate Bok Choy / Pak Choi into my meals for nutritional benefit…

  • Dice up quinoa and add it to your cooked quinoa
  • I love it in the wonderful Coconut Chicken Bok Choy Soup that warms your tummy and satisfies — my husband claims it’s better than the one he eats at the local Thai place in Atlanta! (Whoop whoop!)
  • Instead of going for traditional lettuce, put on top of your next homemade burger to add some crunch and nutritional benefit
  • Dice and throw it on top of chickpea salad for added “crunch”
  • Add to any super-food smoothie for a power-packed nutritional drink on the go
hydroponic-bok-choy-garden-fresh

Our Exclusive Bok Choy / Pak Choi Cheat Sheet and Seed Organizer
(Great for your seed stash organization and quick reference)

Get Bok Choy Recipes

Sources:
World’s Healthiest Foods
Late Start? Grow these fast plants
• 13 Greens That Will Forever Change the Way You Think About Salads
Purchase White Stem Bok Choi Seeds