Know that there shouldn’t be GMO seed available to consumers and is sold to producers only at this time, but you need to be aware of what is happening in our food supply chain as it could affect you in what you consume from the grocery store.
With genetically modified organisms (GMOs), we risk transforming our food into a patented commodity controlled by a few multinationals, and stripping farmers and consumers of their rights. GMOs are unreliable from a scientific point of view, inefficient in economic terms and unsustainable in an environmental analysis. Little is known about them from a health perspective and from a technical standpoint they are obsolete.
What are GMOs?
A GMO is an organism in which a gene belonging to one species is transferred to the DNA of another – for example a bacterium to a plant. This process cannot occur in nature through breeding or natural genetic cross over.
What aren’t they?
Supporters of GMOs would like to make consumers believe that they have always existed. In reality, they are intentionally confusing the genetic engineering that produces GMOs with other biotechnologies such as grafting, interbreeding, seed propagation, etc. These techniques, some of which are thousands of years old, actually underlie the fundamental developments made by agriculture and humanity itself. GMOs are born exclusively in laboratories; there is no way in which they can be created in nature.
Some stats on GMOs
- 14 million agriculturists across 25 nations plant genetically modified seeds on 134 million hectares. (2009 data).
- Of the crops grown worldwide, GMOs represent 77% of the soya, 49% of cotton, 26% of corn and 21% of rapeseed. This is a clear sign of the great decrease in biodiversity on cultivated land.
- In the first phase of GMO cultivation, between 1996 and 2005, they were used primarily across the Americas. Since 2006 however, the greatest growth has occurred in Asia and Africa.
- GMOs have been around for 30 years, with the first GMO plant dating back to 1981. But after a great amount of research, in practice only four GMO plants are being used commercially – soya, cotton, corn and rapeseed – and only two characteristics have been integrated: tolerance to herbicides and resistance to insects.
1. GMOs don’t feed the world
99% of GMO crops are not destined for human food, but rather for animal feed and biofuels. Land dedicated to growing GMOs is being expanded at the expense of food production.
2. It is not true that GMOs are more productive
GMOs have not increased productivity. According to official data from the United States Department of Agriculture, there has been no recorded increase in the soya and corn yield following the introduction of GMOs to American agriculture.
3. GMOs do not reduce the use of chemical products
Genetically modified plants are resistant to specific herbicides. For example, Monsanto sells genetically modified corn seeds and also sells Roundup Ready, an extremely potent herbicide that is the only one able to be used with cultivation of this corn. However, using Roundup on the GMO fields doesn’t eliminate all of the weeds: some resist the herbicide and this resistance is strengthened with each generation. These weeds become problematic and new chemical products must be invented to deal with them.
According to the Environment Working Group (EWG) this is a problem and why they, as a ‘think tank’ to monitor the government’s role in managing this with our food system.
“Nearly all corn and soybeans in the U.S. – totaling more than 150 million acres – are genetically engineered to withstand glyphosate, the active ingredient in Monsanto’s Roundup. But over-reliance on glyphosate has led to the growth of “super weeds” that are resistant to the weed killer. Today, more than 60 million acres of U.S. farmland are infested with weeds resistant to glyphosate.
Because of this super weed problem, farmers are turning to a chemical cocktail of glyphosate and 2,4-D, a possibly cancer-causing herbicide linked to Parkinson’s disease and thyroid problems. The leading cancer researchers at the World Health Organization recently classified glyphosate alone as ‘probably carcinogenic to humans.'”
4. GMOs impoverish biodiversity
GMOs require larger areas of land and intensive monoculture cultivation to reduce production costs. This in turn means farmers are displaced from their land and cultures and traditional knowledge are lost. In fact, a team of researchers reviewed 34 years of USDA census data on every recorded crop species grown in U.S. counties and found a “steady decline in diversity in almost every food-growing part of the country.”
5. GMOs allow multinationals to control food
The multinational companies that patent and produce GMO seeds control the majority of the seed market and often also produce herbicides and fertilizers.
6. GMOs compromise food sovereignty for communities
How can organic, biodynamic and conventional farmers be sure that their crops haven’t been contaminated? The spread, even limited, of GMO cultivation in open fields will change the quality and state of our agriculture, taking away our freedom to choose what we cultivate and eat.
7. GMOs compromise freedom of choice for consumers
At the international level, labeling laws regarding GMO products lack uniformity and are insufficient. In Africa and Asia no legislation exists at all. In America there is no acknowledged difference between products containing GMOs and conventional products, and therefore it is not deemed necessary to inform consumers of the presence of GMOs. In Europe, producers are obliged to declare the presence of GMOs if in a quantity above 0.9%. However, also in Europe the majority of animal feeds commercially available contain genetically modified soya, but it is not obligatory to declare derivative products such as milk or meat on the label.
8. GMOs contribute to problems with bees and birds and an unbalanced ecosystem
In the last several years, numerous scientists have shown that neonicotinoids such as clothianidin are lethal for pollinators at agricultural field concentrations and are the most likely cause of colony collapse disorder in bees. Other studies show correlations between environmental neonics and the loss of birds, especially species that consume aquatic invertebrates.
Learn more about herbicide use and GMO crops below.
STOP GMOs!
Know that there shouldn’t be GMO seed available to consumers and is sold to producers only at this time, but you need to be aware of what is happening in our food supply chain as it could affect you in what you consume from the grocery store.
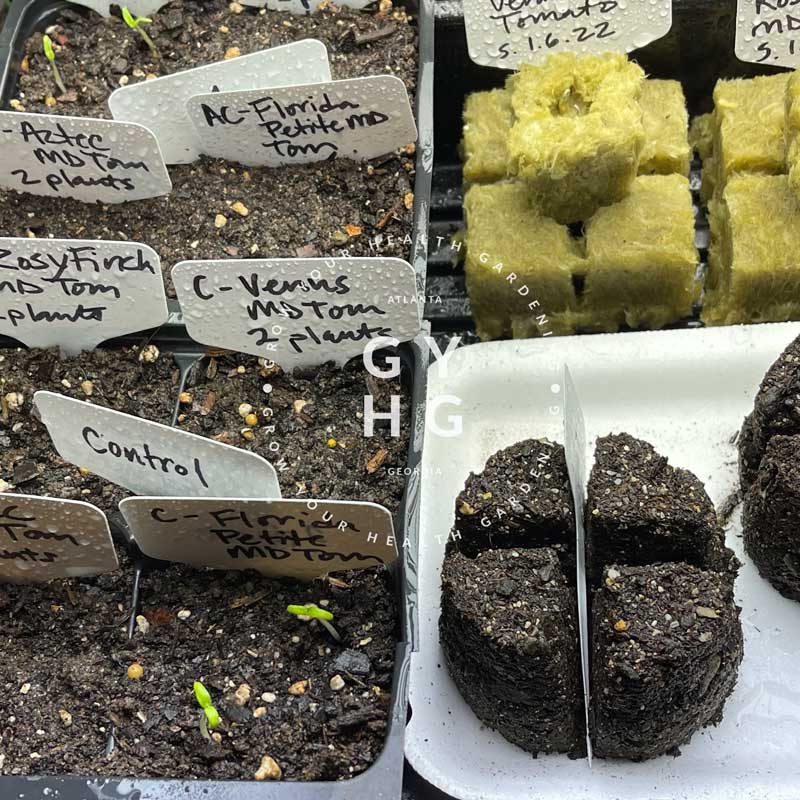
When choosing seed for your garden, always look for seed providers that have made a commitment to biodiversity and preserving seed DNA as seed stewards through non-GMO open-source, non-patented and heirloom seed (like seed grown by Grow Your Health Gardening.) Not only will you play a key role in helping to maintain biodiversity within our food supply, but you’ll also enjoy the nutritional benefit of these fantastic seeds!
Shop seeds adapted to growing in the southeast (hot and humid zone 7B) in hydroponic systems at store.growyourhealthgardening.com
Sources: